Inserting images
Recipe - GUI
- Edit the page using "Edit (GUI)" action.
- Put the cursor on the position where the image should be inserted.
- Press "Attachment" button on the toolbar.
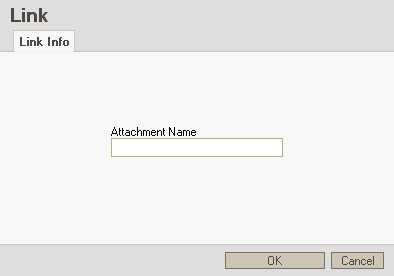
- In the "Link info" window (see below) enter the name of the image file:

- If necessary, edit the page further and (this is required) save the changes. At this point there would be no image displayed yet, so it has to be transferred.
- Notice the "Upload new attachment" link instead of the image. Click it.
- On the subsequent page add the image using the form.
- That's all.
Recipe - Text
- Edit the list of attachments using "Attachments" action (near "Edit" and "Info" actions).
- On the subsequent page add the image using the form. Remember the name of the attachment.
- Edit the page using "Edit (Text)".
Insert the attachment:attachment-name.extension in the text where desired.
- That's all.
Control the image display
The [[ImageLink]] system macro offers more control over the the way images are displayed (change size, provide link or alternate text, etc). See HelpOnMacros/ImageLink
Additional info: FeatureRequests/BetterControlOverIncludedImages
